
A friend of mine said, in this time of sheltering, “ya gots to have projects”. So, I set out to change the tabletops in our 25′ Airstream Flying Cloud. Last year, Ultimate Airstream created us their ‘Ultimate Lounge’ with new dual tables, cabinets and new cushions. You can read about that here. What a difference it made! But I wanted to add my own flare of walnut tabletops and cabinet top. My beautiful wife ordered “herringbone, please”.
Before Pictures:
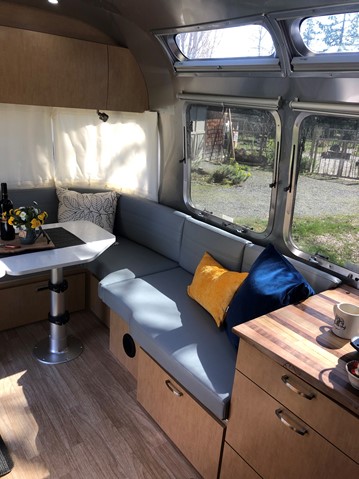
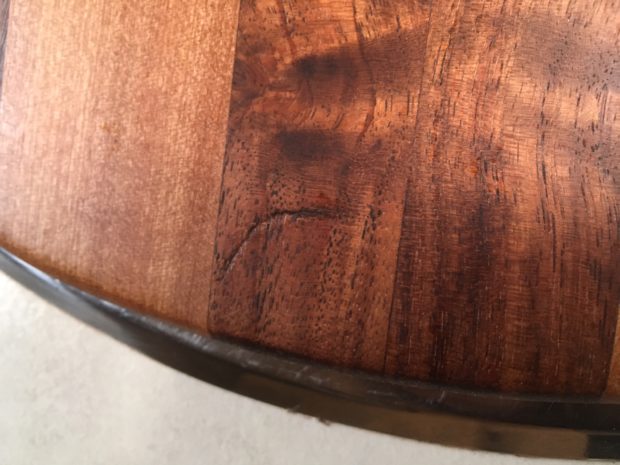
Nice, huh? Ah but it can be improved….
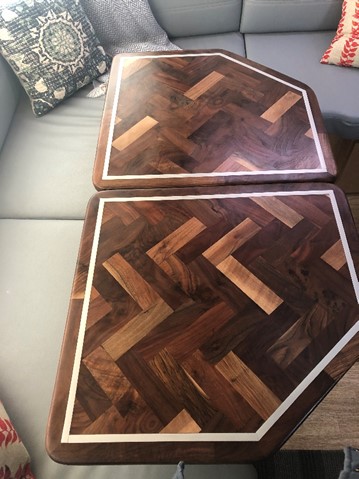
The process was to use a piece of ¾ plywood as the base and apply pieces of 2″ X 6″ X 1/2″ walnut in a herringbone pattern. This would make the table 1 1/4″ thick. I also used walnut as edging with a rabbeted edge to sit on the plywood and stand 1/2″ proud or at the same height as the field of walnut.

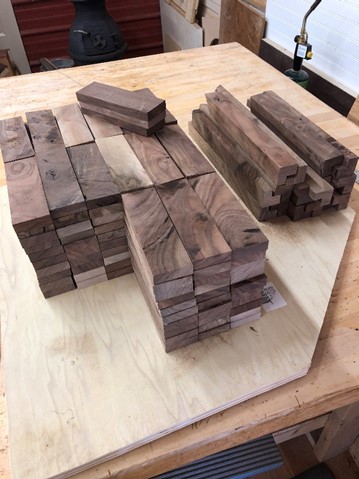
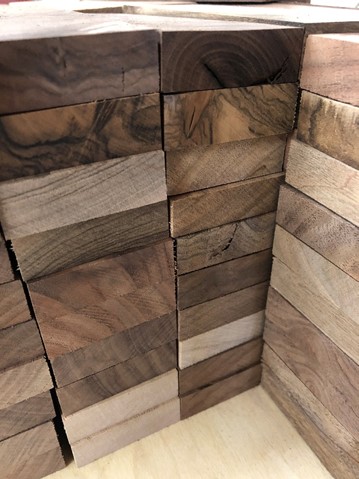
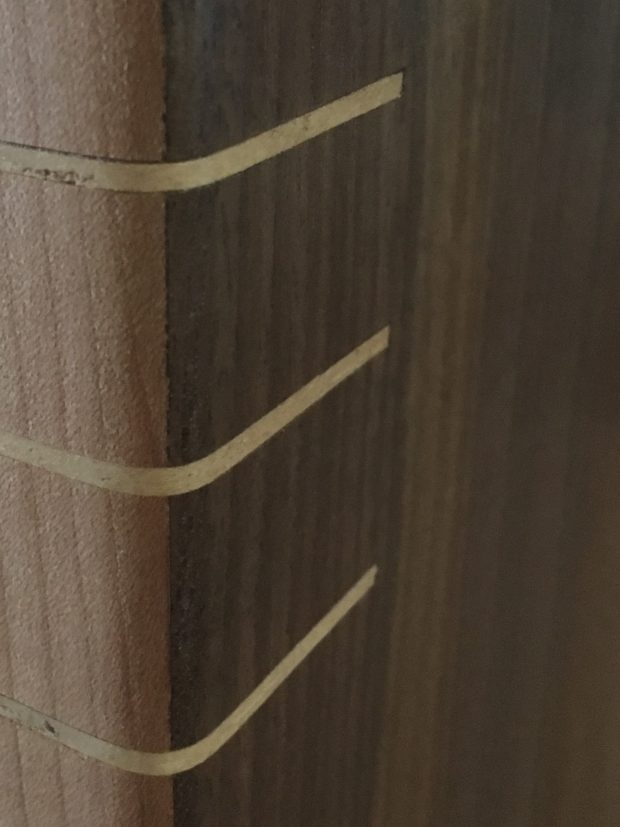
I was so excited to see what the grains and colors would reveal once finished. I began laying them out in the pattern I choose and making sure to add some light walnut to pull in the cabinet color from the trailer. Then on a particular rainy day, when I eschewed the shop, I watched a program on HGTV where the woodworker made an ebony-stained table and used an inlay of brass. AHA! I thought what if I added and inlay of aluminum around the edge of the tables? That would pull in the interior walls and make a more cohesive look inside the trailer.
I used 1/2″ X 1/8″ aluminum flat bars (Home Depot) and used a router to make a dado to receive the aluminum bars. That way they are flush with the table top. After sanding the tops smooth, I layered on a hard finish to help avoid scratching. This is when the wheels came off….
The basic rule to using any form of finish and creating a smooth surface on your wood is to start with a warm environment….and the weather turned into rain and 30-35 degrees. Uugh. I only have a small wood stove to heat the shop and an air cleaner to circulate the air. Needless to say, I thought I had the place warm enough for applying the Polyurethane but nope, it showed all the brush strokes and left a rippled surface. I warmed up the shop again the following days and tried to layer more on top but….no dice. So fully frustrated with myself, I sanded off the layers of finish and started over. I waited for the sun to shine and for the temp to climb back into the 50s, heated up the shop to 75, warmed the Poly and the tabletops next to the stove and tried again. Beautiful!
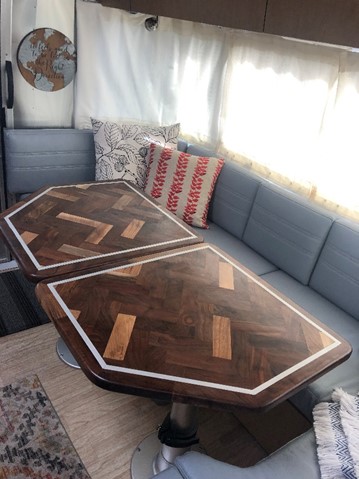
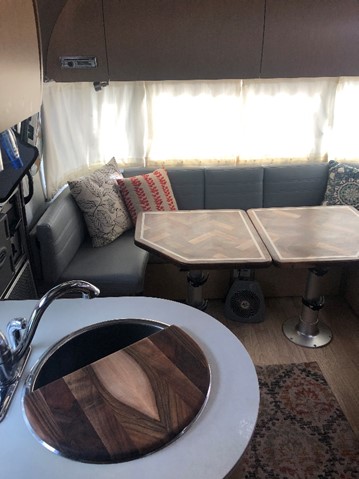
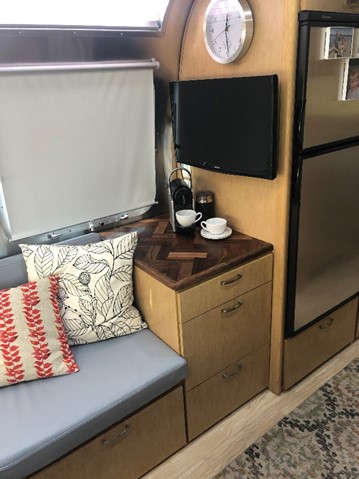
Here are the after shots…. What do you think?